
Workflow Guides
Send payslips now or schedule delivery
Use approved, previewed data and verify the intended receipt date before sending immediately or scheduling a later batch.
Before you start
Identify the authorized account, the employer and pay period, and the person who owns the input data. Use controlled sample information for a first test. Check the current account and supported interface where a setting matters; supplied older images illustrate a workflow, not every available configuration.
Steps
-
Identify employer, period and the exact approved group of recipients.
-
Review employee addresses and personal previews before moving to release.
-
Check currently available delivery, announcement and acknowledgment settings.
-
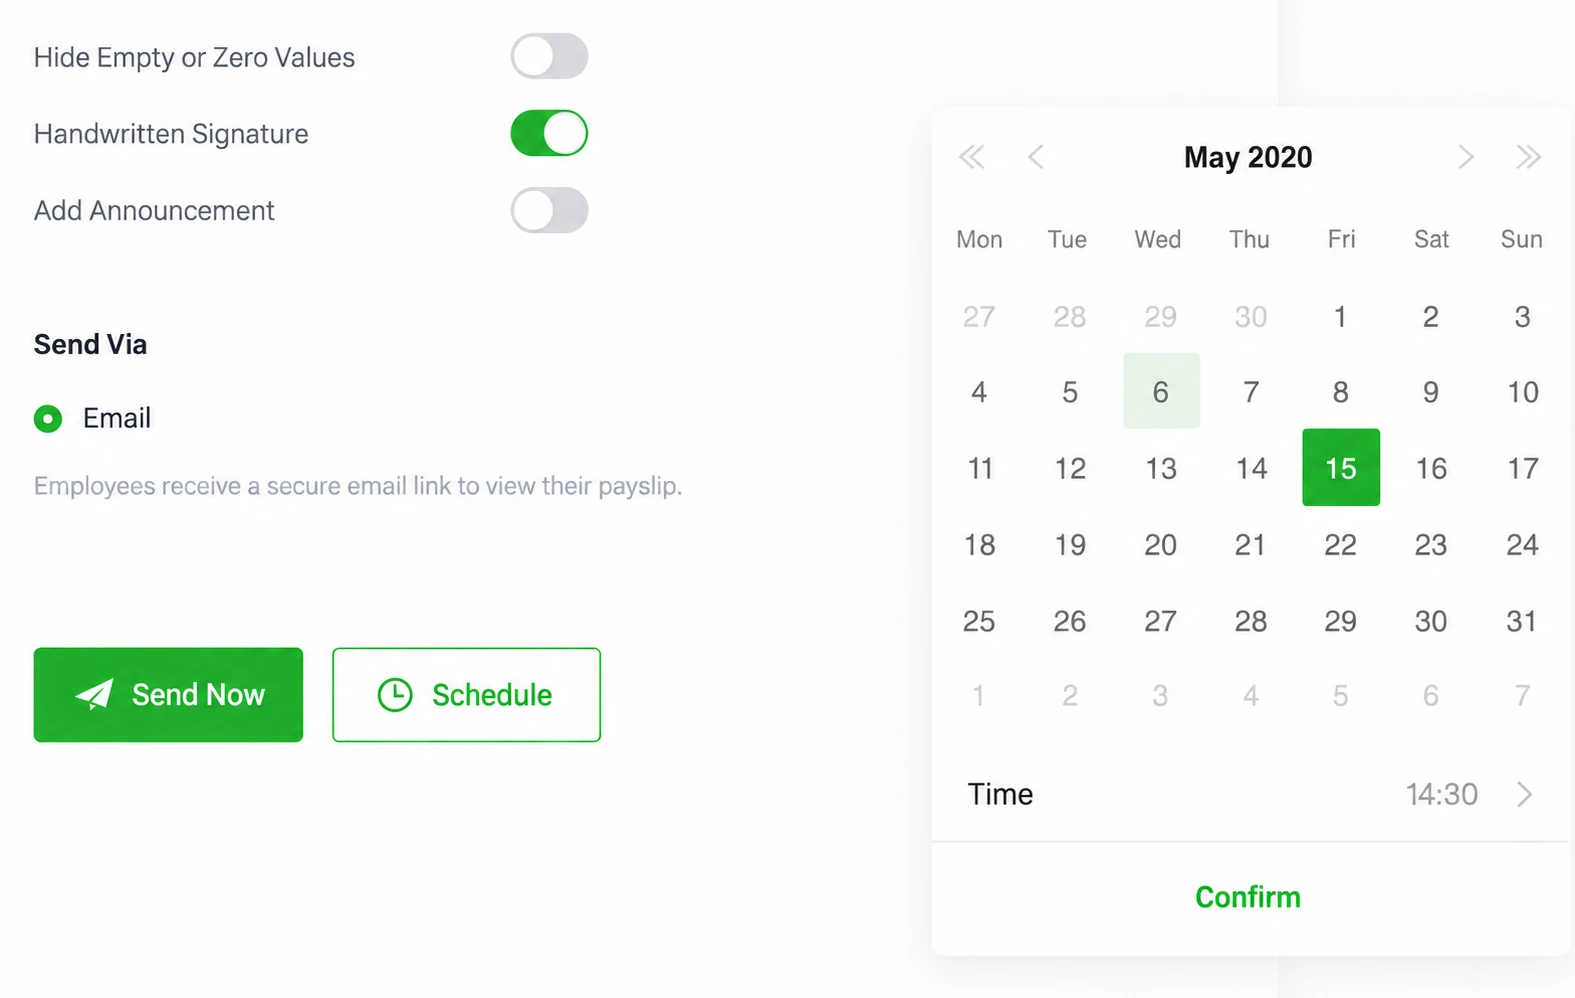
For scheduling, confirm date and relevant time settings with a test and understand change or cancellation behavior.
-
Send or schedule the identified batch using the current supported controls.
-
Find the resulting record and test personal receipt; investigate exceptions without rebuilding an identical batch.
Check the result
Find the resulting record and test personal receipt; investigate exceptions without rebuilding an identical batch. Keep the observed result and any unresolved condition with the relevant account, period and record reference. A completed screen should not be used to claim a different event.
If something goes wrong
If email is unavailable, inspect usable recipient fields and current account conditions. Separate missing notification from statement creation, and do not infer that other channels shown in older images are available locally.
Explanations and checklists
- How do employees receive and view a SugarHR payslip?
- Can payslips be scheduled for a later date?
- How should employee names and recipient addresses be matched?
- First-send and employee experience checklist
Start Your Free 1-Month Trial and verify this sequence with the people who will actually perform it.
Published by SugarHR Help Center. How we review guidance.
Start Your Free 1-Month Trial